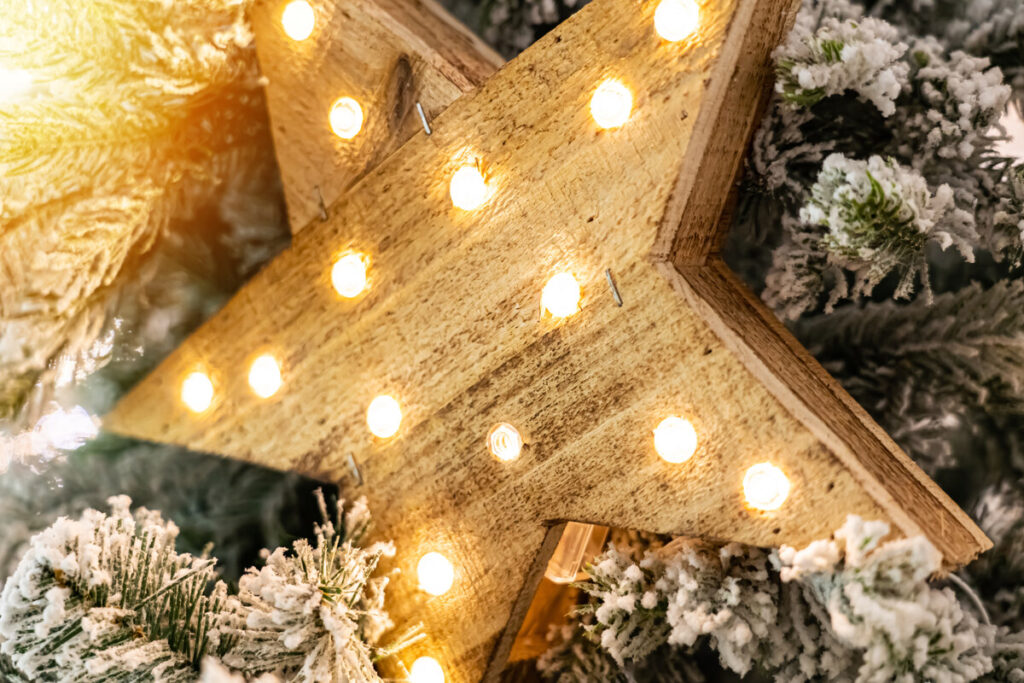
A few warm white stars glowing by the front door can make a dark November evening feel instantly welcoming, and you can make three different ones in a single night with a metal frame and a string of lights.
Around here, the sun is gone by late afternoon, so porch lighting does a lot of heavy lifting. The trick that makes the whole display look styled instead of random is simple: vary the heights. One big star grabs the eye first, then two smaller ones sit a little higher or lower, maybe on a birch log or a bench. A few fir branches and red berry sprigs tie everything together.
What every star needs
All three versions start the same way, so you can shop once and mix and match.
- A metal star frame, about 10 to 12 inches wide (craft stores carry these in the wreath and floral aisle)
- A thin string of warm white micro LED lights
- Scissors and wire cutters
Stick with warm white throughout. Mixing it with cool white makes the group look mismatched, even from the curb.
The raffia star
This is the easiest one and the softest looking. Wrap each of the five points tightly with flat raffia so no metal peeks through. Then run a few long strands across the open center at irregular angles. Every time you change direction, take one full turn around the frame and the strands stay put with no glue at all.
Finish by winding the light string loosely around the outer edge, with the little bulbs facing outward. Hang it under a porch roof or overhang, because raffia that gets damp will start to mold within a few weeks.
The black wire star
For a modern, graphic look, stretch a length of black craft wire from the top point down to the dip between the two bottom points. Then run wire from each of the other points toward the center and twist it around the vertical wire at its midpoint. Want a denser sunburst? Add more strands resting on the angled edges of the frame.
Wind the lights around the outside edge only. If you run them through the middle, the black rays get lost at night. Fasten the finished star to a black metal rod with floral wire and plant the rod in a heavy pot of soil. A stable pot is best, since a windy evening will tip over anything lightweight. Hide the base with fir, eucalyptus and a few berry stems.
The gold braided star
Wrap the end of thin gold craft wire around the frame several times, then pull it back and forth across the open space, looping around the frame each time you change direction. Leave small gaps between passes, because a tightly even weave loses that handmade charm. Tuck the loose end into the back of the star so it doesn’t scratch anyone.
Thread the light string through the braiding without pulling it tight, and spread the bulbs all the way out to the points. Set the finished star on a sturdy support resting on a birch log, and cover the join with pine branches and a few pinecones.
Safety first for outdoor lights
Before you plug in or switch on anything, read the package. Both the light string and the battery box need to be rated for outdoor use, and the whole display should be sheltered from rain. Also check that the lights are safe to touch natural materials like raffia. If the box does not say so, skip that pairing or contact the manufacturer.
Prefer to buy them ready made?
The same layout works with store-bought stars. Look for a large gold woven star as your anchor, a natural rattan one for the cozy look, or a black stake light you can push straight into a big planter. Some outdoor sets come in three sizes, around 16, 24 and 32 inches. Put the largest in the back and the other two slightly staggered in front. That offset, much more than the number of bulbs, is what gives the group depth.