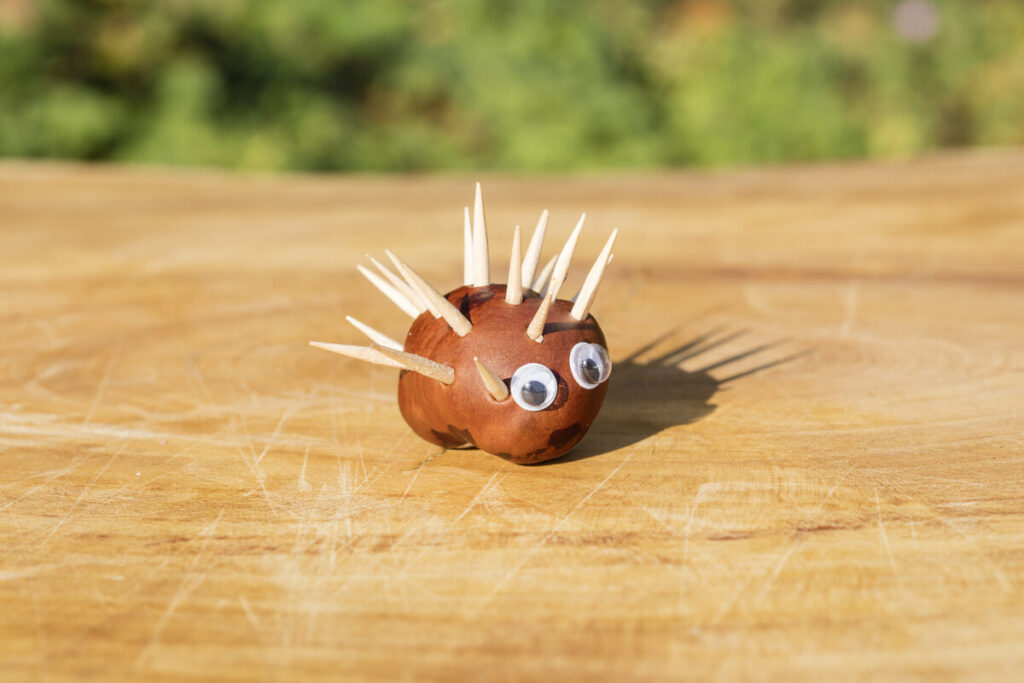
Before you toss that empty egg carton into the recycling bin, hang on a second. One little cardboard cup, a lump of air-dry clay and a handful of toothpicks are all you need to make a whole family of hedgehogs that look right at home in your fall decor.
This is one of those crafts that comes together with stuff most of us already have in the junk drawer. The egg cup turns into a pointy little snout, the clay gives each hedgehog a round, chubby back, and the toothpicks become its prickly coat. Add a pair of googly eyes, a tiny black pom-pom nose and a smile drawn on with a marker, and every single one ends up with its own personality. No two come out the same, which is honestly half the fun.
What you need to make egg carton hedgehogs
The base of each hedgehog is a single cup cut from a cardboard egg carton, flipped upside down so the opening faces the table. Pick a carton that is light in color, clean and completely dry. That slightly rough cardboard texture actually works in your favor here, because it gives the finished figures a natural, woodsy look.
- A cardboard egg carton
- Air-dry clay in light beige or brown
- Wooden toothpicks
- Two googly eyes and one small black pom-pom per hedgehog
- Craft glue that works on cardboard and small embellishments
- Scissors, plus small wire cutters if you want to trim the toothpicks
- A black marker for the mouth
- Optional: beige and brown acrylic paint and a small brush
- A washable craft mat to protect your table
For the display, grab a wooden bowl or a small log slice, some dried decorative moss, a few fall leaves, pinecones and little twigs. You can find all of that in the floral aisle of any craft store, but a walk around the backyard or a local park usually does the job just as well (and the kids love the scavenger hunt part).
If little ones are helping, an adult should be the one cutting the toothpicks. Between the sharp points and the small pieces, the finished hedgehogs are decorations, not toys, so keep them up high and out of reach of toddlers.
How to make the hedgehogs step by step
Cut out the egg cup
Snip one cup out of the carton. Trim off any pointy bits sticking out and even up the bottom edge so the little dome stands up straight when you flip it over. One side will become the face. If your carton has dark printing on it, give it a quick coat of light beige paint first and let it dry.
Give it a face
Glue the two googly eyes onto the front, then stick the black pom-pom just below them for the nose. Leave a little room above the bottom edge, then draw on a small curved smile with the marker.
Shape the body
Work a piece of clay between your fingers until it softens up, then press it onto the back, sides and top of the egg cup. You want a nice rounded back while keeping the face clear. The layer should be thick enough to hold the toothpicks firmly, but there is no need to pile it on. Smooth out the seams with your fingertips.
Add the spikes
While the clay is still soft, push the toothpick pieces in. Start at the top and work your way down the sides. Angling the spikes slightly differently makes the coat look so much more lifelike than lining them all up straight. Leave a little space around the eyes and nose, and push each piece in deep enough that it stays put.
Let it dry
Set your hedgehog somewhere safe and let the clay harden completely, following the drying time on the package. Try not to bump the toothpicks while it dries. If the dried clay pulls away from the cardboard, just glue it back in place. Decorating comes last.
Three cute ways to display them
On a log slice: spread some dried moss over the wood and arrange your hedgehogs in a staggered row. A few twigs in the back and some big colorful leaves are enough to make it look like a little woodland scene. If you have leftover clay, shape a couple of tiny red toadstools for a fun pop of color.
In a wooden bowl: nestle three hedgehogs into a bed of moss and fill in around them with a few pinecones, acorns and mini mushrooms. Turn the faces toward the front so they stay visible among all the natural textures.
On a windowsill: no moss? No problem. Pair them with a small gourd, a few chestnuts and some dried leaves. Just pick a dry spot indoors, since egg cartons and most air-dry clays really do not like moisture. Once fall is over, wrap them gently in tissue paper and tuck them away for next year. Around here, little critters like these are what make the house feel like fall.