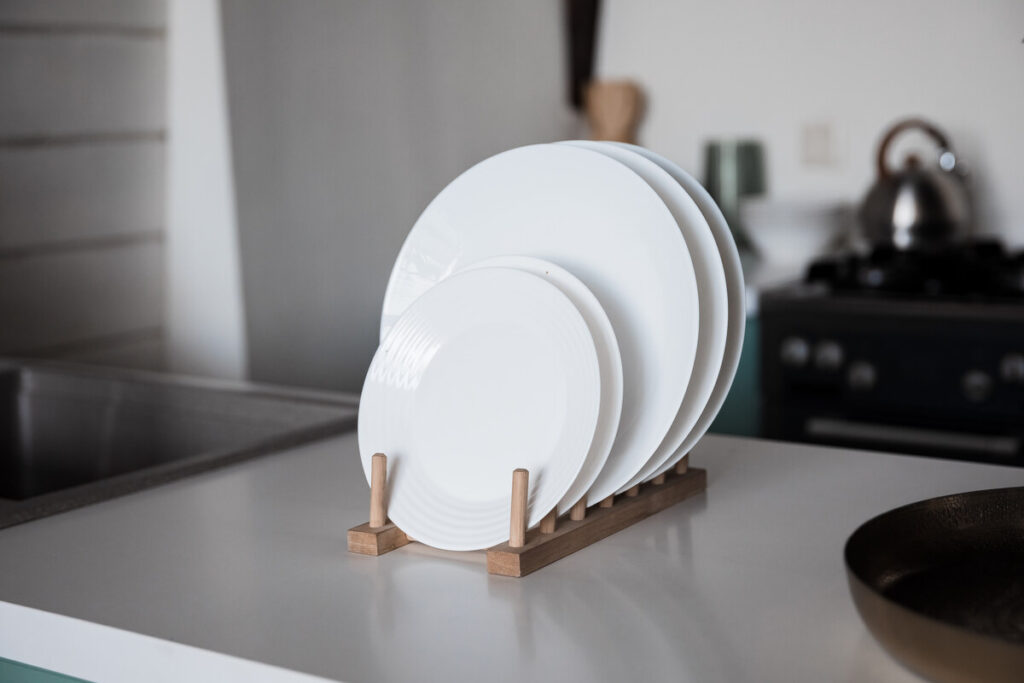
If your closet is hiding a tangle of extra wooden hangers, do not haul them to the curb just yet. With a saw, a drill and a handful of screws, they can become a dish drying rack with plate slots and mug arms that honestly looks like something from a pricey kitchen store.
Most of us collect hangers without ever meaning to. A new coat comes home on one, a dry cleaning order adds three more, and suddenly there is a whole stack of them wedged in the back of the closet. Wooden hangers are the frustrating ones, because they feel too nice to throw out but you never actually use them all. The good news is that the wood is already shaped, sanded and sturdy, which makes it perfect for a small upcycling project that ends up living on your counter instead of in a junk pile.
Why wooden hangers make such a good dish rack
The secret is the little bar at the bottom of each hanger, the one meant for folding pants over. Once you pull those bars out and set them into notches, they turn into rails that hold your plates upright, just like the dowels on a store-bought rack.
The whole idea comes down to one simple trick: line the hangers up side by side, alternating one right side up and the next one upside down. The upside down hangers stick up and act as arms where you can hang mugs, glasses and even big mixing bowls to drip dry. The upright ones form the base and hold the plate rails.
The finished rack stays light but surprisingly steady. Just keep two things in mind before you start:
- You need hangers with a wooden pants bar. Models with a metal bar or no bar at all will not work, because those bars are what you reuse as rails.
- You can use up to about ten hangers, depending on how long you want the rack to be. Two of them keep their original bars and become the two ends.
What you will need
Take a quick inventory before you plug in the drill. Here is the short list:
- Several wooden hangers with a wooden pants bar
- Small wood screws or thin finishing nails
- A hand saw, a drill and a thin bit for pilot holes
- A thin strip of wood to brace the inside of the rack
- Food-safe paint or a water-resistant sealer, plus any decorative touches you like
The sealer is not just for looks. A dish rack gets splashed every single day, so a water-resistant finish keeps the wood from swelling, staining or getting that musty smell.
Prep the hangers
Start by removing the metal hook from every hanger. Most twist right out, and a pair of pliers helps with stubborn ones.
On five of the hangers, make a pencil mark about 1 inch in from the end of each arm. That is where you will cut the notches that hold the rails. On some hangers the pants bar is glued in place, so you may have to saw it free to salvage it. A sharp hand saw makes this part much easier and keeps the ends of the bars clean.
How to put it together
Cut the notches
At each pencil mark, cut a notch that is just a little wider and a little deeper than the pants bar. Go slowly and test the fit as you work. You want the bar to drop in snugly, not rattle around.
Set the plate rails
Remove the pants bars from all of the hangers except two. Those two keep their bars and will sit at each end of the rack. Slide the salvaged bars into the notches, then drill small pilot holes and screw them in from underneath so they cannot shift. These become the rails your plates rest against.
Add the drying arms
Line up all of your hangers. The ones with notches and rails lie flat, and the others get flipped upside down. Screw each upside down hanger onto an upright one so the arms point up. That is where your mugs, cups and glasses will hang.
Brace it and finish it
Fix a thin strip of wood along the inside of the rack to tie everything together and stop any wobble. Once the frame feels solid, give it a coat of food-safe paint or sealer and let it dry completely before the first load of dishes goes on.
From there, have fun with it. A soft color that matches your kitchen, a natural wood finish or a few decorative touches on the ends all work. It is such an easy weekend project, and it really does look like one of those expensive racks you see in fancy home stores. Around here, anything that clears out a closet and makes the counter look a little nicer at the same time is a win.