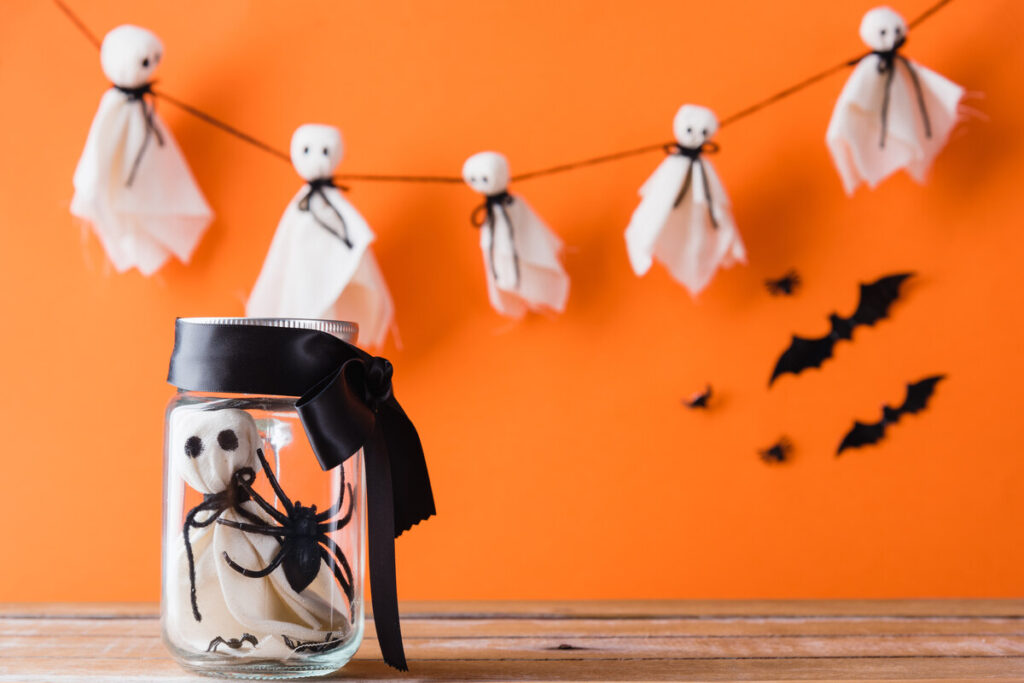
An empty jar, a square of white cheesecloth and a little LED light are all it takes to make a sweet glowing ghost for Halloween. Here is how to make them from glass jars or clear plastic bottles, give them a face, hang them from branches and dress them up.
Three black ovals, a soft white veil and a warm glow: that is honestly all a jar needs to turn into a tiny ghost. These lanterns land more on the cute side than the scary side, which is exactly what I want around here with little kids in the house. Big ones look great by the front door, and mini ones seem to float when you hang them from branches in a vase. Clear plastic bottles work just as well as glass. Two details make all the difference: fabric that drapes loosely, and a light source that stays completely hidden under the veil.
What you need before you start
- Clean, dry glass jars or clear plastic bottles (baby food jars are perfect for mini ghosts)
- White cotton cheesecloth or thin muslin
- Battery LED tea lights or thin battery-powered copper wire fairy lights
- Black craft felt for the eyes and mouth, or self-adhesive googly eyes
- Craft glue that works on glass and plastic and dries clear
- Scissors and sturdy twine for hanging
- Optional: ribbon, black cardstock and jute twine for a little hat
Stick to LED lights only. The fabric sits right against the container and can fall over the opening, so a real flame is never a good idea here. Go for warm white rather than cool white, which looks harsh and a bit clinical. If the kids are helping, keep the battery compartments closed, and keep small face pieces and button batteries away from toddlers. You can find cheesecloth and felt in the craft aisle, and battery fairy lights in the seasonal section of most big box stores for just a few dollars.
How to make ghosts from glass jars
- Prep the jar. Peel off the label, scrub away any sticky residue, rinse and let it dry completely. Switch on an LED tea light and set it inside for a quick test.
- Cut the fabric. Drape the cheesecloth over the jar and cut a generous square so the corners stop just below the bottom of the jar. For ghosts that will stand on a shelf, trim the ends so nothing tucks under the base. The jar needs to sit flat.
- Attach it. Lift the fabric back off, dab a few dots of glue around the outside of the top rim, then lay the cheesecloth back over. Arrange it in loose folds and let it dry. Make sure you can still reach the switch on the light.
- Add the face. Cut two small eyes and a long oval mouth from black felt and glue them to the front of the veil. Keep the eyes fairly close together, which is what makes the face read clearly, even on the tiniest ghosts.
The plastic bottle version
Feed a strand of fairy lights loosely through the neck of the bottle and spread the little lights around inside. Attach the battery pack to the outside, on the back, with a strip of hook and loop tape. Never pinch the wire under a screw cap tightened all the way down. Then drape the cheesecloth over the shoulders of the bottle and hold it in place with a few dots of glue. You can wrap the neck or hide it completely, depending on the shape you like.
Googly eyes give this version a really mischievous look. Add a felt mouth, then turn the lights on to check that the glow spreads evenly. If you can see each little light too clearly, a second thin layer of cheesecloth fixes it. Tuck the battery pack under a fold at the back without gluing it down, since you will need to open it again.
Hanging mini ghosts from branches
Attach the hanger before the fabric goes on. Tie sturdy twine just below the threads at the neck of the jar, then make a loop tied to two points on either side. Test it over something soft, like a pillow or a folded towel, to make sure the jar does not slip. Then pull the loop through a small hole snipped in the center of the fabric.
Hang three mini ghosts at staggered heights on sturdy branches in a heavy, stable vase. Start with the heaviest one close to the main branch, then spread the other two out to the sides so the fabric edges do not touch. Setting the arrangement a little away from the wall makes the white shapes stand out more. Before hanging them, gently pull a few threads along the cut edges. Those uneven frayed edges make the ghosts look like they are floating.
Finishing touches with hats, ribbons and pumpkins
A sage green bow or a gingham ribbon on top softens the whole look right away. For a tiny witch hat, roll a cone from black cardstock and glue it onto a cardstock circle for the brim, then wrap the cone in jute twine if you like. On a dresser or entry table, a few small decorative gourds and some fall leaves are all you need to set the scene. Outside, keep fabric ghosts out of the rain, under a porch roof or covered entry, use lights rated for outdoor use, and keep walkways clear.
A few tips that make them look better
- Wash new cheesecloth and let it dry without ironing. The natural wrinkles give a much more lifelike drape.
- Glue the face on once the fabric is on the jar, never while it is lying flat, because the proportions change completely.
- Keep a spare LED tea light for each ghost, since the little button batteries can run out after a few evenings.